How to Turn a Photo Into a Tattoo Stencil
Start with a photo of approved artwork. Choose a cleanup mode for the source you have and check the finished linework before measuring or printing.
Choose artwork to preview a stencil.
Print at 100% or Actual Size.
JPG, PNG or WebP. Your artwork stays on this device.
Start with a photo that separates the lines from the background
A phone photo of a pencil drawing and a photo of a real subject call for different cleanup. A photographed sketch usually has intentional dark marks on light paper. Preserve those marks while reducing the gray cast around them. A photo of a subject also contains shadows, textures, and reflections. Decide which contours describe the design before you commit to the output.
For a drawing, lay the paper flat and use bright, even light from the side or a nearby window. Hold the camera parallel to the page and keep your phone’s shadow off the drawing. Crop the photo to take out the desk, page edge, and spiral binding. Leave a little room around every line you want to retain. If one section of the page still looks much darker, retake the photo before trying to correct it with a single strength setting.
Clean a photographed sketch or flash sheet
- Open the tattoo stencil maker and choose a JPG, PNG or WebP file up to 20 MB. Crop a flash sheet to one design when you want to size that design independently.
- Select Clean drawing. Start near the default ink strength. Look at one fine line and one dense area, then switch between the source and the stencil. Move the strength a little at a time and check both spots after each change.
- Check the empty background for page creases, dirt and hard shadows that have carried through as marks. Crop, erase those marks in your drawing app, or retake the photo if the same adjustment removes details you want to keep.
When faint pencil marks are important, darken those particular lines in the source or reshoot under more even lighting. A single global slider can make shadows more visible as it brings the lighter lines back. If you have a scan or layer export from the artist, use it for a cleaner input and keep the phone photo for reference.
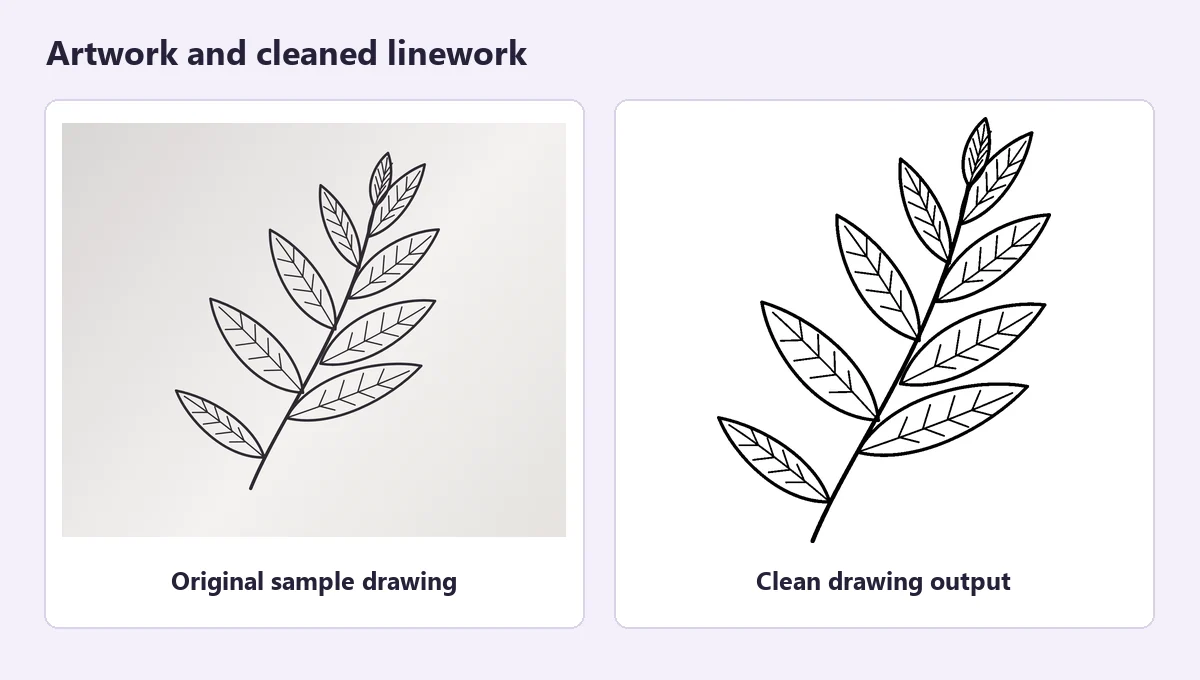
The tool’s built-in drawing and the linework generated by Clean drawing.
Choose contours for a shaded reference photo
Try Trace edges on a well-lit reference with a clear boundary around the subject. Inspect the silhouette first. Then check a few interior features that establish shape, such as a jawline, the rim of a petal, or the turn in a folded fabric edge. Compare the result with the original before saving it.
Texture can compete with those features. In a portrait, hair strands and hard facial shadows may produce more lines than the outline of the face. A patterned background can make the subject’s outline hard to read. Trace the most important edges on a separate layer in your drawing app when you need that level of control. Export the isolated layer or an image with a simple background and import it again. Keep the original file available to check likeness and intended details.
Inspect the stencil at the size you plan to print
Look at the spaces between lines at the proposed width. Patterns that read clearly at full screen can crowd together on a small stencil. Increase the intended print size, simplify the tightest areas in the source, or use a cleaner version of those lines. If a stray mark sits far from the rest of the drawing, it may also affect the visible width used for scale.
Download a transparent PNG if you need to clean up or redraw parts of the stencil. When you are ready to print, set the artwork width and paper size, then export a PDF. Confirm the orientation and the 50 mm check line on your paper proof. The actual-size tattoo stencil printing guide walks through those checks.