Sugar Skull Tattoo Stencil
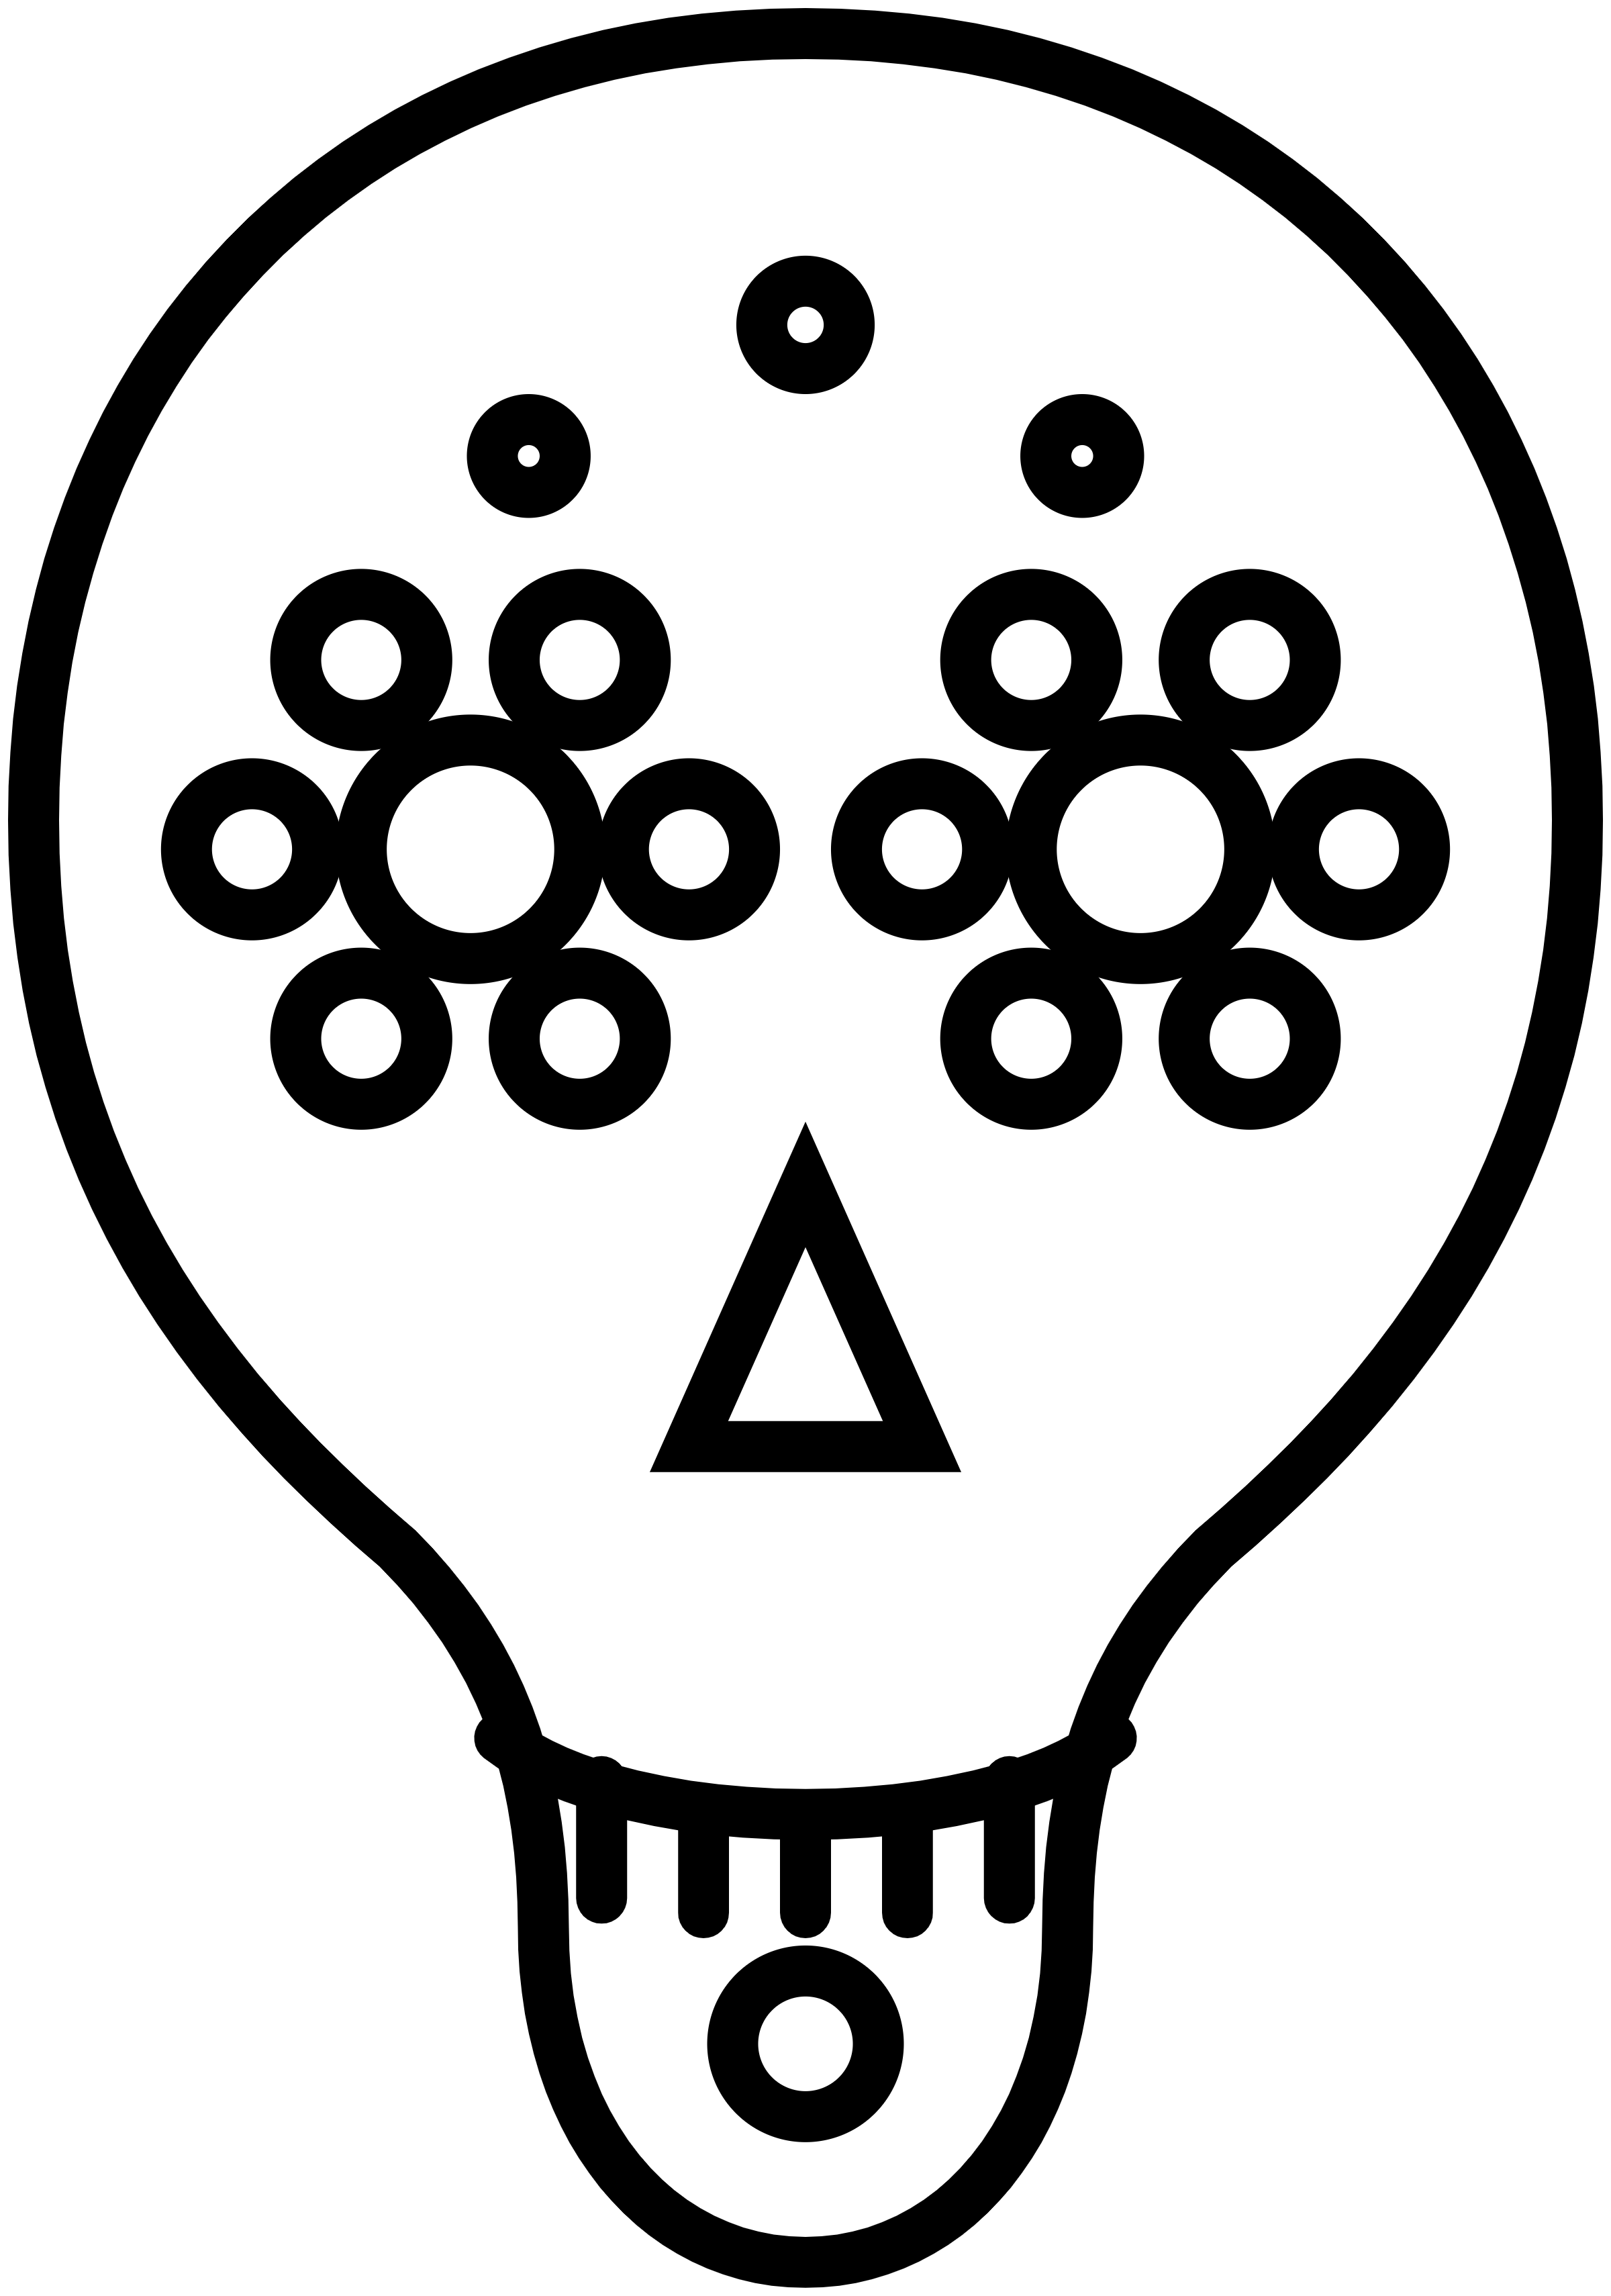
A symmetrical sugar skull with flower eyes, a triangle nose, a teeth row and a small chin ring, drawn so the ornaments keep their gaps at small sizes.
 Download transparent PNG
Symmetry is the whole drawing
A sugar skull is two mirrored halves, and any asymmetry that you add by mistake is the first thing an eye catches. The outline, the flower eyes, the nose and the mouth ticks in this file all sit on the same vertical axis, so the drawing stays balanced after mirroring. If you want the piece to look hand drawn rather than printed, break the symmetry in the ornaments, not in the outline.
Measure the height from the chin to the top of the cranium on your placement guide. Adjust the width in the tattoo stencil maker until its height readout fits the measured space.
Flower eyes lose detail first
The eyes are a central socket with six round petals around it. Below about 55 mm skull height the petals touch each other and the eye turns into a flower-shaped blob. Two ways out: print larger, or drop to four petals and keep the gaps. Both keep the eye readable; keeping all six petals at a small size does not.
The forehead dots go before the petals do. They are decoration, and a skull with a clean forehead still works.
The mouth and chin ornaments
The mouth is a single arc with five short teeth ticks, and the chin ornament is a small ring. Those ticks are the second place that fills in when the piece shrinks, because the gap between two ticks is thinner than the stroke. On a small piece keep the arc and drop the middle ticks: a smile line with two end ticks reads as teeth, a solid bar does not.
Print the skull at actual size
Print at 100% and check the 50 mm line on the actual-size print guide before the transfer. The transparent PNG exports at 2400 px wide, so a 110 mm skull still lands above 500 dpi.
The design is usually placed flat (forearm, calf, thigh), so print the proof on the transfer paper you will use and look at the petal gaps on paper before you clean the skin. If you want a second skull, mirror the file so the pair faces each other. More designs are in the printable tattoo stencil library.
Test the flower eyes at the intended size
Start with the measurements of the placement. An artwork width of 75 mm gives a proof about 107 mm tall in this design. A 95 mm wide proof is about 136 mm tall. Place both proofs on the forearm, calf or thigh using a mark for the nose and a mark for the center of the chin. Check how much room you have above the forehead and below the chin, then look from a normal viewing distance to see whether the two eyes read as a pair.
When a client wants a compact version, make a smaller paper proof before settling on the ornaments. Inspect the gap around a forehead dot, the smallest opening between petals, and the separation between two teeth. Use the same row of teeth for every check so you can compare changes. If the center still reads clearly and one of the decorative gaps closes, simplify that ornament in a drawing app. Export a fresh transparent PNG and confirm the resulting width and height in the editor again.
For a Phomemo TP83 or OZER thermal stencil printer, follow the model’s transfer paper and feeding instructions. Open the print file with the intended dimensions and check the flower eyes after printing one sheet. Compare both eyes under the same light and look at the chin ring as well. Apply only the mirror setting your workflow needs, then check the orientation on paper if you changed any details on one side.
For a compatible inkjet stencil system, use the specified stencil ink and transfer paper. Print at the same size and check the paper for clear spaces around each petal and mouth tick. Use the proof where the 50 mm mark and the ornament spacing both agree with your plan. Stencil printer paper guide.