Deer Skull Tattoo Stencil
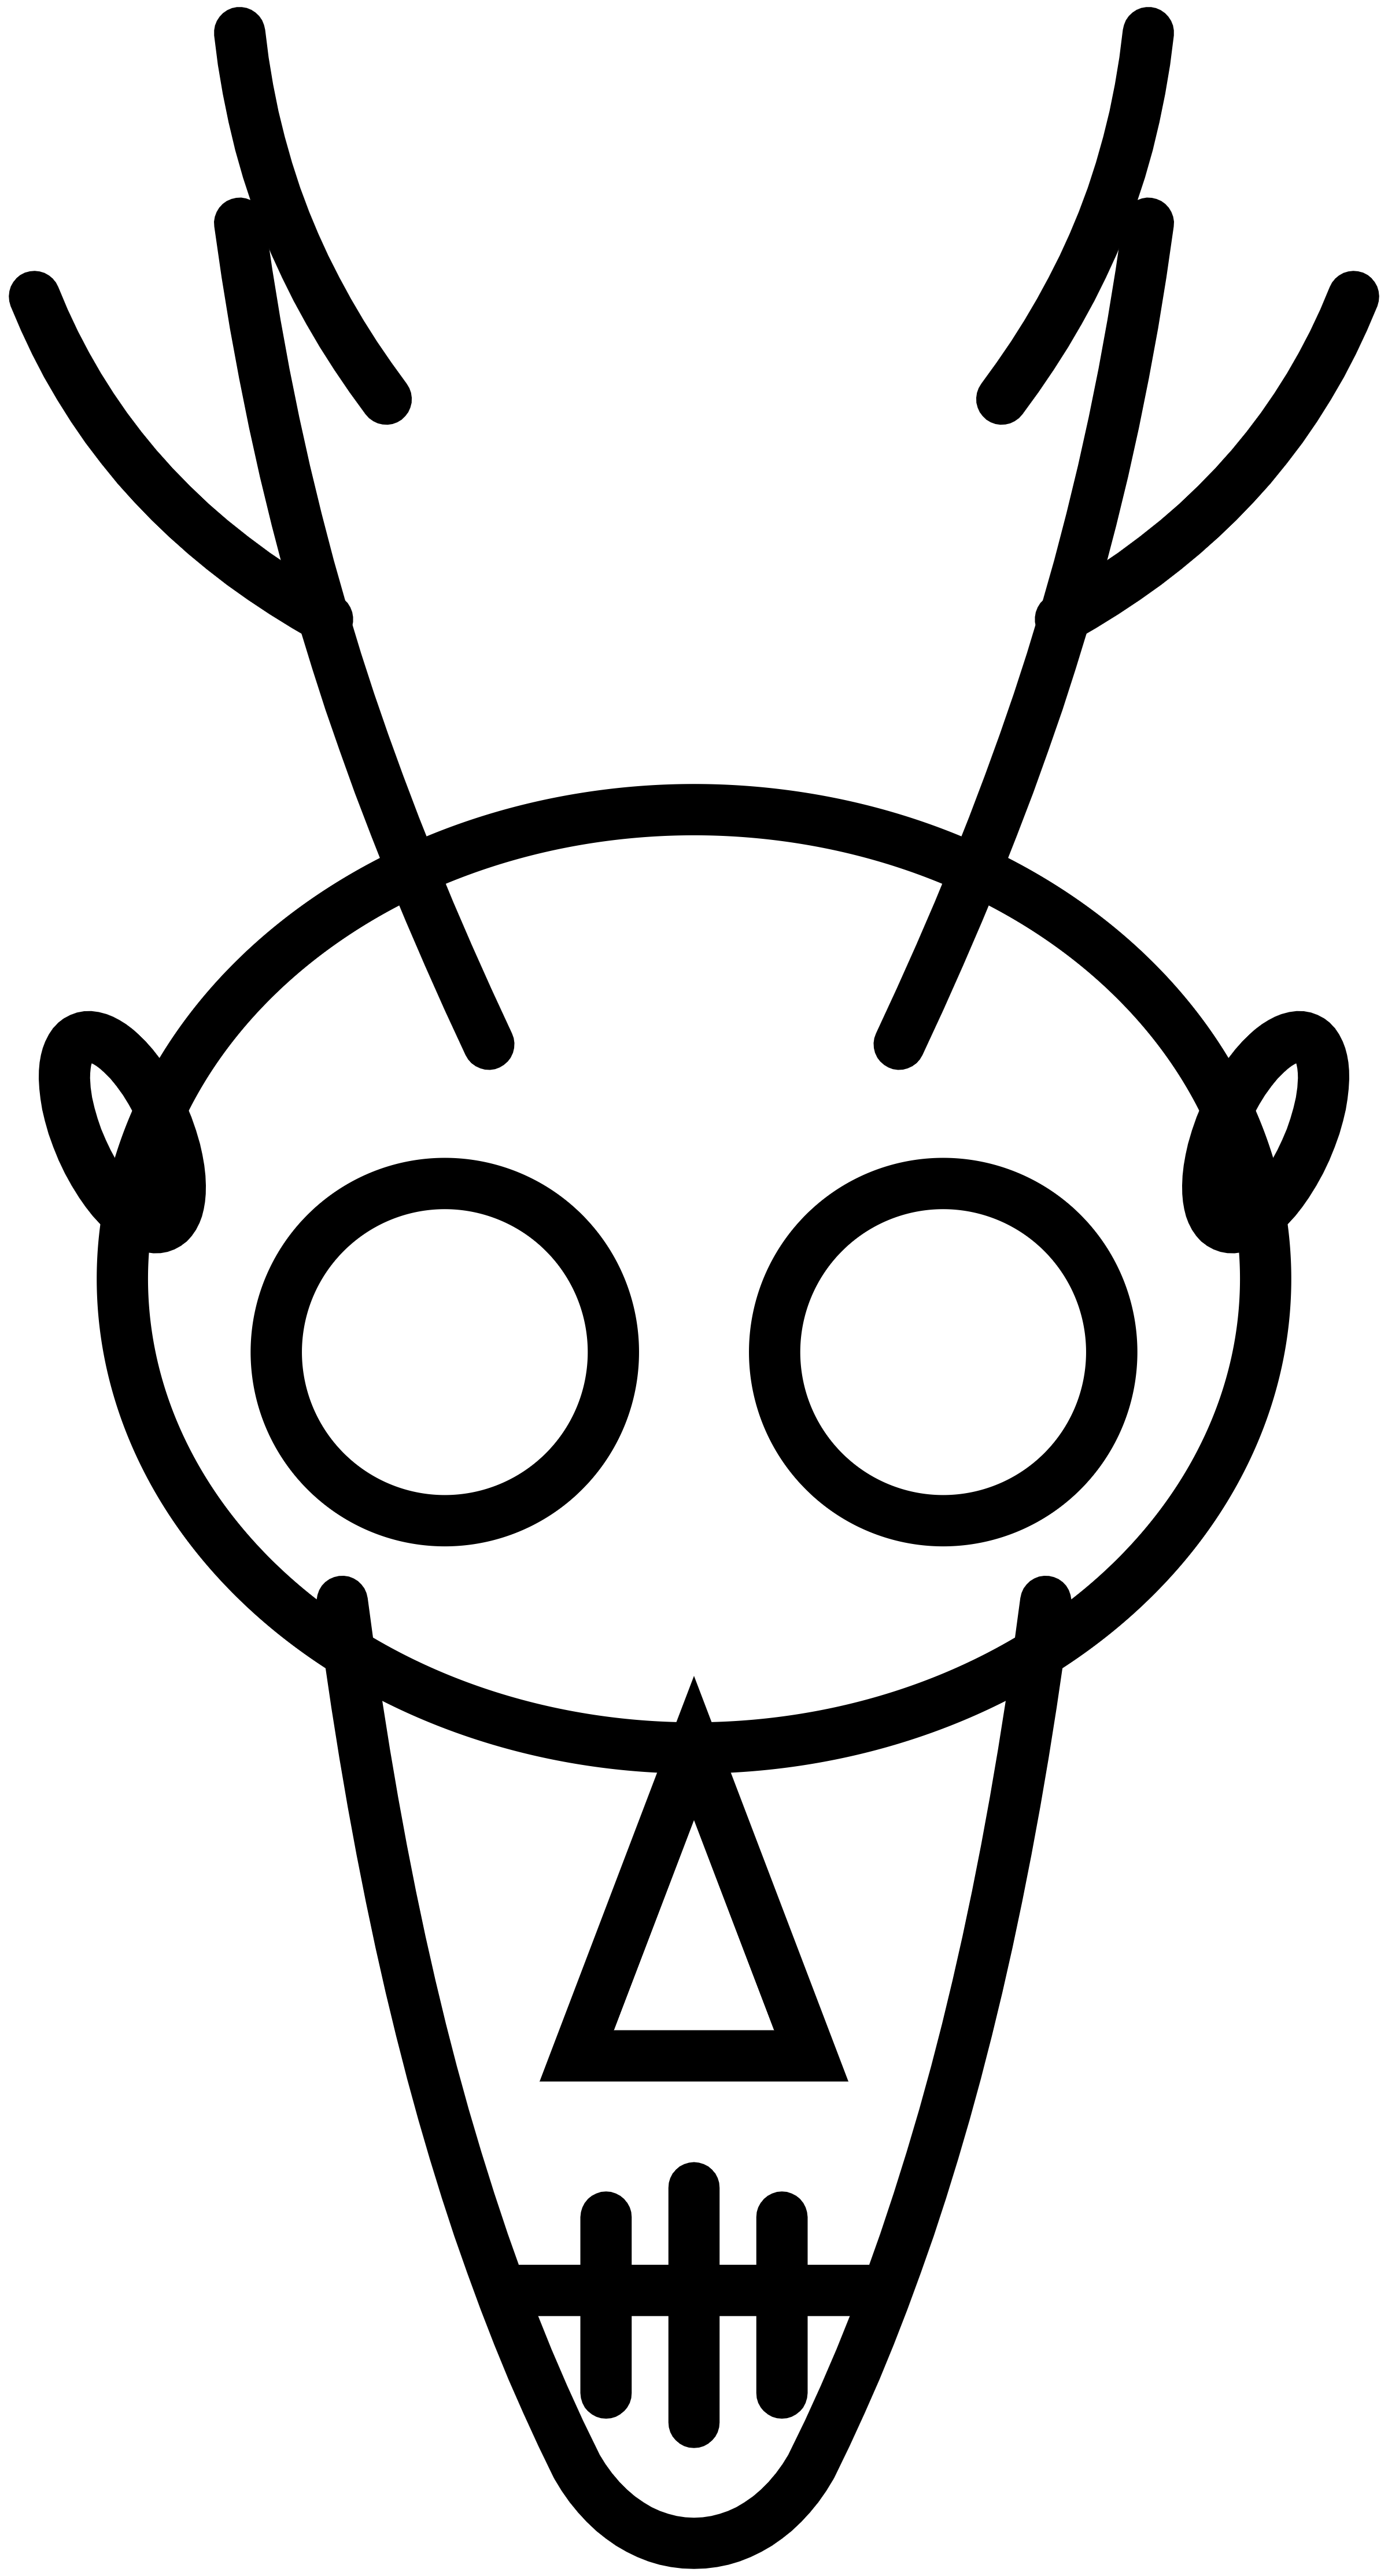
A deer skull with branched antlers, two open eye sockets and a visible teeth row, drawn so the tines stay apart when the piece is printed small.
 Download transparent PNG
Antler tines need the most room
The antlers are the part of this drawing that decides the minimum size. Each beam carries two tines, and at the junction of a tine and the beam there is only a few millimetres of white space. Print the outline at 60 mm across and look at those junctions first: if the tines merge into the beam, the whole skull starts to look like a blob of branches.
For a knee or an upper arm the antlers can stay open at 100 mm and the skull carries the detail. For a small inner-forearm piece the usual answer is to keep the beams and drop the inner tine on each side.
The eye sockets set the scale
Two open sockets and a small triangular nasal cavity are the only markings in the middle of the skull, so their size relative to the cranium is what makes the drawing read as bone rather than a mask. Adjust the artwork width in the tattoo stencil maker until the calculated height fits your placement. Then check that the sockets still show a clear inner edge at that size. On a 50 mm skull the socket line is the first thing to thicken, and a thickened socket turns the eye into a dark oval.
Teeth and nasal line at small sizes
Below the sockets, the nasal taper and the row of teeth are drawn as short lines with a gap between them. Those gaps are deliberately wider than an anatomical drawing, because a stencil needs the transfer paper to show through between the marks. If you print at a size where the tooth gaps close, either step up one size or leave the tooth row out and keep the nasal triangle; a skull without teeth still reads as a skull, a grey bar across the jaw does not.
Print the skull at actual size
Keep the sheet at 100% and run the actual-size print guide first, so the 50 mm calibration line matches before you commit to the transfer. The transparent PNG exports at 2400 px wide, enough for a 200 mm skull at over 300 dpi.
If the piece sits on a curved surface such as a calf or a shoulder, bend the paper proof around the area before you clean the skin: the antler tips move more than the skull when the paper wraps. More bone and animal linework is in the printable tattoo stencil library.
Fit the antlers and jaw on the same proof
This stencil is much taller than it is wide. An 80 mm artwork width gives a proof about 150 mm tall, and a 100 mm width is about 187 mm tall. Use both measurements when you test a narrow placement such as the outer calf. Mark the nearest edges of the available area on a paper strip. Place the proof over those marks and check that each antler tip and the end of the jaw has clearance. Keep the center of the nose over the centerline you chose for the design.
At a smaller width, start your inspection where the inner tine branches away from the beam. Move down to both eye sockets and the gaps in the tooth row. Check the same spots at the larger width. When one tine crowds the neighboring line, inspect the PDF before changing the drawing. If the space is open in the file, check scaling and the transfer stock before changing the source. If it is crowded in the file, adjust the art in a drawing app and recheck the placement using the new proof.
With a Phomemo TP83 or OZER thermal stencil printer, follow the paper and feed instructions for the exact model. Set the paper size to match the sheet you load. On a tall proof, check the topmost antler and the point of the jaw for clipping. Measure the calibration line before adjusting the layout.
For a compatible inkjet stencil setup, use the stencil ink and paper specified by the ink system. Print a copy with the same width and compare the eye contours and tooth gaps in good light. Recheck the centerline and orientation if you change apps between the two proofs. Stencil printer paper guide.