Skeleton Hand Tattoo Stencil
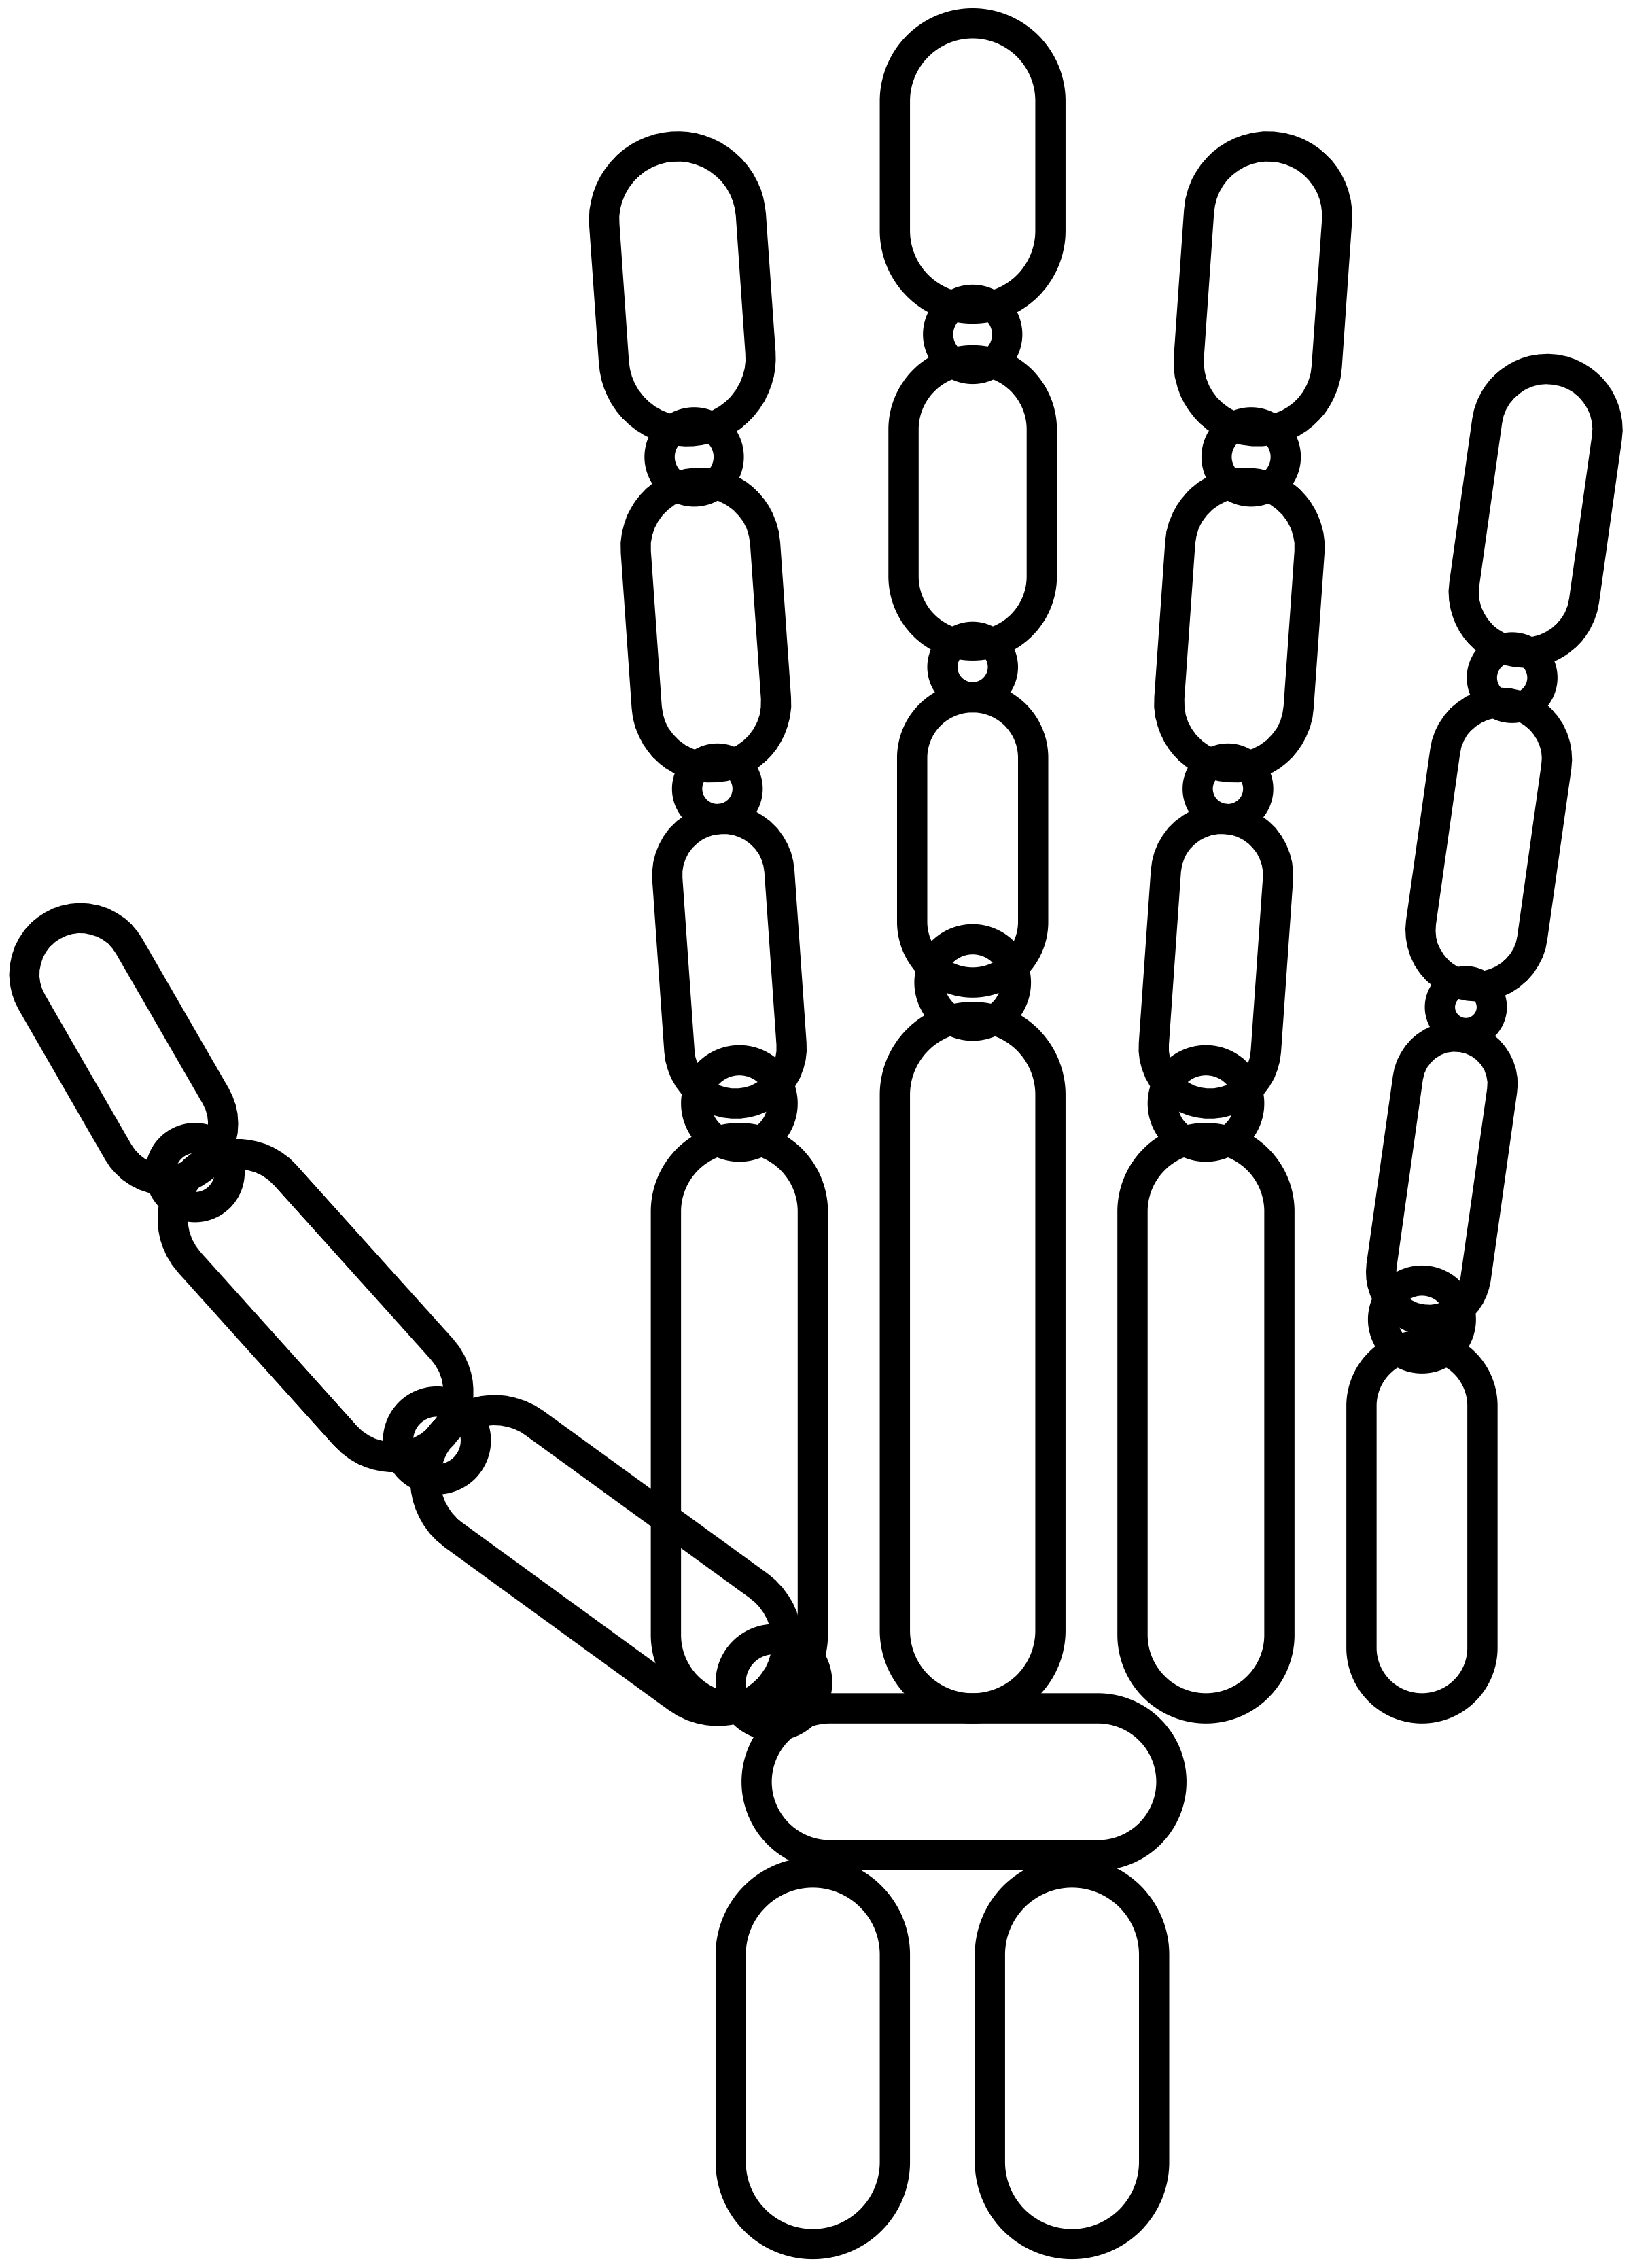
A hand skeleton built from separate bone shapes, so every joint stays open enough to read on a transfer. Wrist, knuckles and fingertips are all in one flat arrangement.
 Download transparent PNG
Place the wrist before the fingers
The hand skeleton only works on skin when the wrist bone sits where the arm actually leaves the design. Start by deciding where the forearm stops: a half sleeve above the elbow usually needs both forearm bones in the picture, while a small hand on the forearm can drop them and run from the wrist down.
Measure from the lower edge you plan to keep to the tip of the middle finger. Enter an artwork width in the tattoo stencil maker, then adjust it until the height shown under Artwork size matches your measurement.
Check the joints at the size you will tattoo
Each finger here is three separate bones with a gap at every joint. At 40 mm the gaps close up and the hand reads as a mitten; at 90 mm they stay open and each knuckle is its own mark. Print a proof at the width you plan to use and look at two things: whether you can still see daylight between the finger bones, and whether the knuckle circles touch the bone ends without merging into one blob.
Hands are the most common place a stencil fails, because the client moves their fingers while you are transferring. If the joints blur together on paper, they will blur on skin too.
Mirror the hand for the side of the body
A right hand on the client's right forearm and a right hand on a back piece are not the same drawing once they sit on the body. Turn on mirroring in the maker when the placement faces away from where the hand should point, then check the thumb: the thumb decides which side of the body the drawing belongs to.
Set the mirror before you add the width. Mirroring after resizing is faster, but it hides whether the copy still fits the space you chose.
Print the hand at actual size
The two forearm bones run off the bottom of the drawing on purpose. If you crop the image in your print dialog, that edge is the first thing to go, and the wrist will land in the wrong place. Keep the sheet at 100% and follow the actual-size print guide so the calibration line measures 50 mm on your paper before you commit.
The transparent PNG exports at 2400 px wide, which keeps a 200 mm hand above 300 dpi. Download it, open it in the maker, set the width, and export the PDF from there rather than printing the PNG from your image viewer.
Proof the wrist and joints at two sizes
Choose the area for the hand, then mark the lower edge and the fingertip end on a paper placement guide. The full PNG includes the long bones below the palm. At an 85 mm artwork width, the full design is approximately 119 mm long. That makes a useful forearm proof if both ends fit the measured area. Compare a smaller proof on the wrist where the thumb runs near the side of the arm. Place the proof with the client’s arm relaxed and keep a little clearance at both ends.
At each test size, inspect the gap at a knuckle, the joint near the thumb and the two long bones at the bottom. Use the same three landmarks when you view the PDF and when you hold the paper up to the light. When a gap closes in both, increase the size or open the gap in your drawing app before importing the PNG again. This keeps the joins easy to follow when you later move the proof.
For a Phomemo TP83 or OZER thermal setup, follow the model’s paper and feeding instructions. Make the first print with the chosen width and orientation, then check the scale mark and the three joints. If the printer app accepts the PNG, set the visible design width again there and check it on the sheet. Keep the wrist edge away from the printer’s feed margin when positioning the art.
For a compatible inkjet stencil setup, use dedicated stencil ink and the matching transfer paper. Feed a single proof and check whether the gaps around the thumb and lower bones stay open on that stock. Compare the prints at the same physical width. A useful proof holds the width and leaves the joints distinct. Thermal and inkjet stencil paper guide.