Eagle Tattoo Stencil
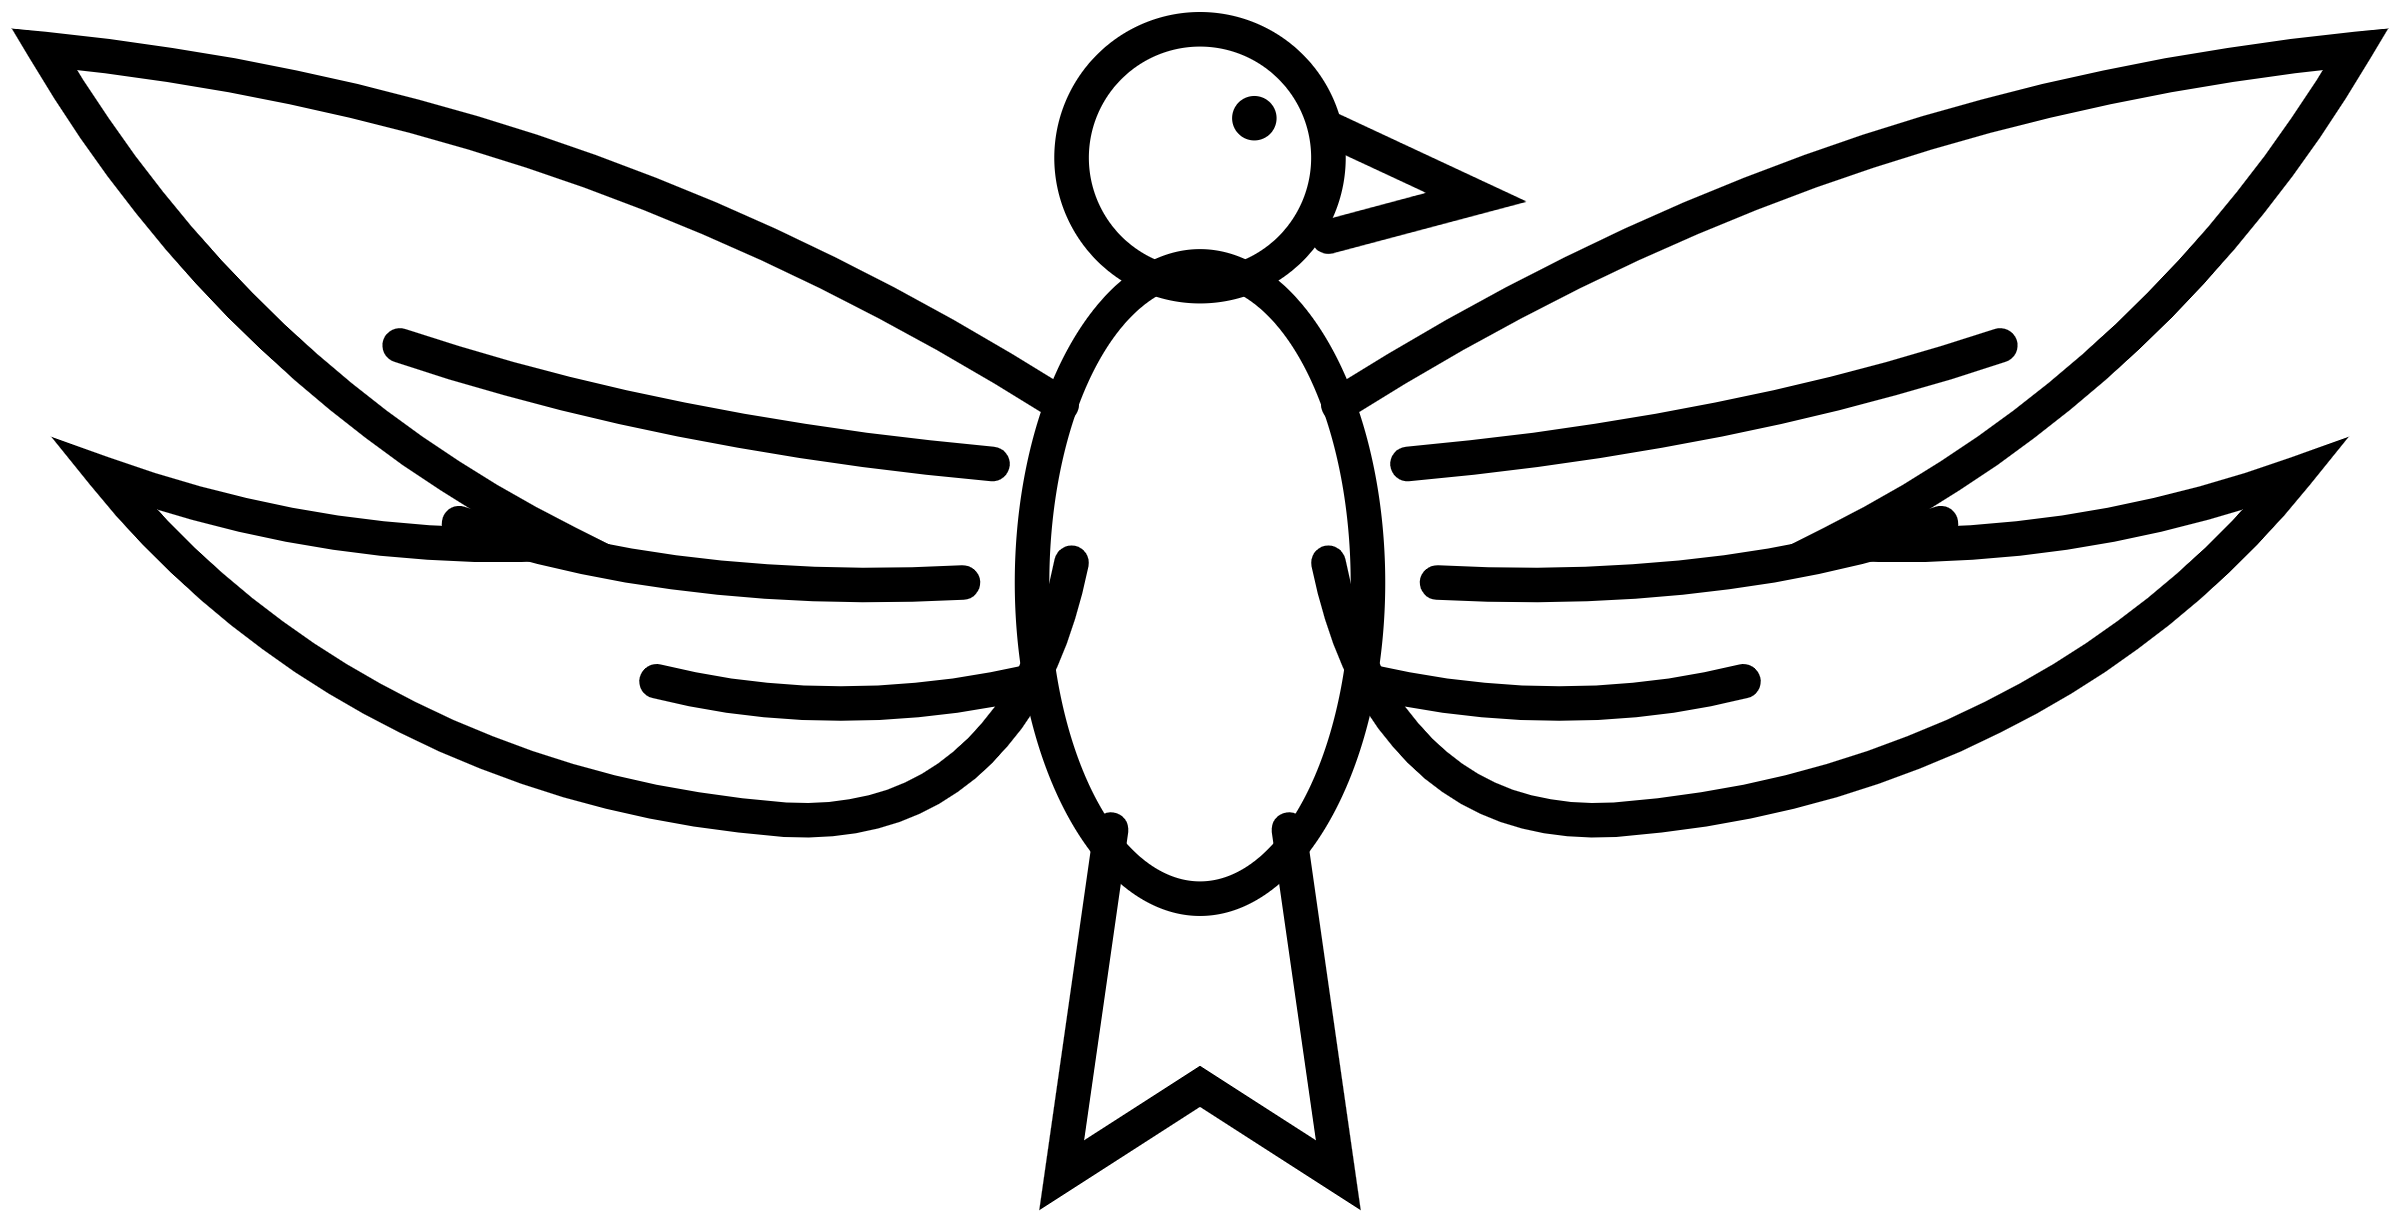
A spread-wing eagle with mirrored wing outlines, three feather lines per side and a fanned tail, built for chest and upper-arm placements.
 Download transparent PNG
The wing span sets the size
On an eagle the wings are most of the drawing, so the number that matters is the tip-to-tip span, not the height. Measure the space the client has, set the span in the tattoo stencil maker, and let the body and tail follow. A 120 mm span is a chest piece; a 220 mm span only works across a back or a full upper arm.
Both wings in this file are the same path, mirrored, so the left and right side line up exactly. That also means a smudge in one wing is a smudge in the other: check the shoulder area on the finished proof before you commit.
Feather groups, not single feathers
Each wing is an outline plus three inner feather lines, which gives four overlapping feather groups per side. That is deliberate: individual feathers are drawn on skin, not traced from a stencil, because at any wearable size individual feather lines turn into a grey smear.
Look at the second line in from the wing tip. If it meets the outer edge before the tip, the wing looks folded; if it runs out separately, the top edge of the wing reads as open. On a curved area like a chest you can usually keep all four lines; on a forearm, drop the shortest one.
The head and the beak
The head is a single circle with a short hooked beak and one eye dot. It is the only part of the drawing small enough to disappear: at a 100 mm span the beak is about 6 mm and still reads, at 80 mm it closes up and the head looks like a plain circle. If you need a smaller eagle, keep the span and drop the eye dot instead of shrinking the head.
Print the eagle at actual size
Print at 100% and check the 50 mm calibration line on the actual-size print guide before the transfer. The transparent PNG exports at 2400 px wide, so a 220 mm span still prints above 250 dpi.
A spread-wing bird on a chest is often placed to sit level with the collar bones, so mirror the file if the client wants the head turned toward a particular shoulder. More animals and birds are in the printable tattoo stencil library.
Proof the wing span across the full placement
Make a paper guide with marks for both wing tips and the center of the chest, back or upper arm area you intend to use. Test a span of 120 mm for a compact placement, where the drawing is about 61 mm tall. A 220 mm setting makes the drawing about 111 mm tall. Use the measured space and the direction the head should face to decide which proof to keep. Put the center of the body over your center mark and compare how far each wing extends when the paper follows the curve of the area.
Inspect two gaps on each wing, one beside the shoulder and one near the outer tip. The lines should remain distinct across the full width, with the same breaks on both sides. Look at the head and the tail after you check the wings. Those smaller shapes give you a quick way to see whether your printer or app clipped one end or shifted the orientation.
A 220 mm span exceeds the width of a portrait A4 sheet. With a TP83 or OZER thermal setup that uses portrait transfer sheets, check the sheet count after setting the span. If the PDF is tiled, align the two paper proofs using the 6 mm overlap and measure the assembled tip-to-tip width. Follow the printer instructions for feed width and stock. Keep the scale at 100% when you open the tiled pages.
For a compatible inkjet stencil system, select the dedicated ink and matching stencil paper. Check usable page width in the print dialog, then compare both wing gaps at their final size. Line up the assembled center and wing tips before choosing the print for transfer. Thermal and inkjet stencil paper guide.