Hummingbird Tattoo Stencil
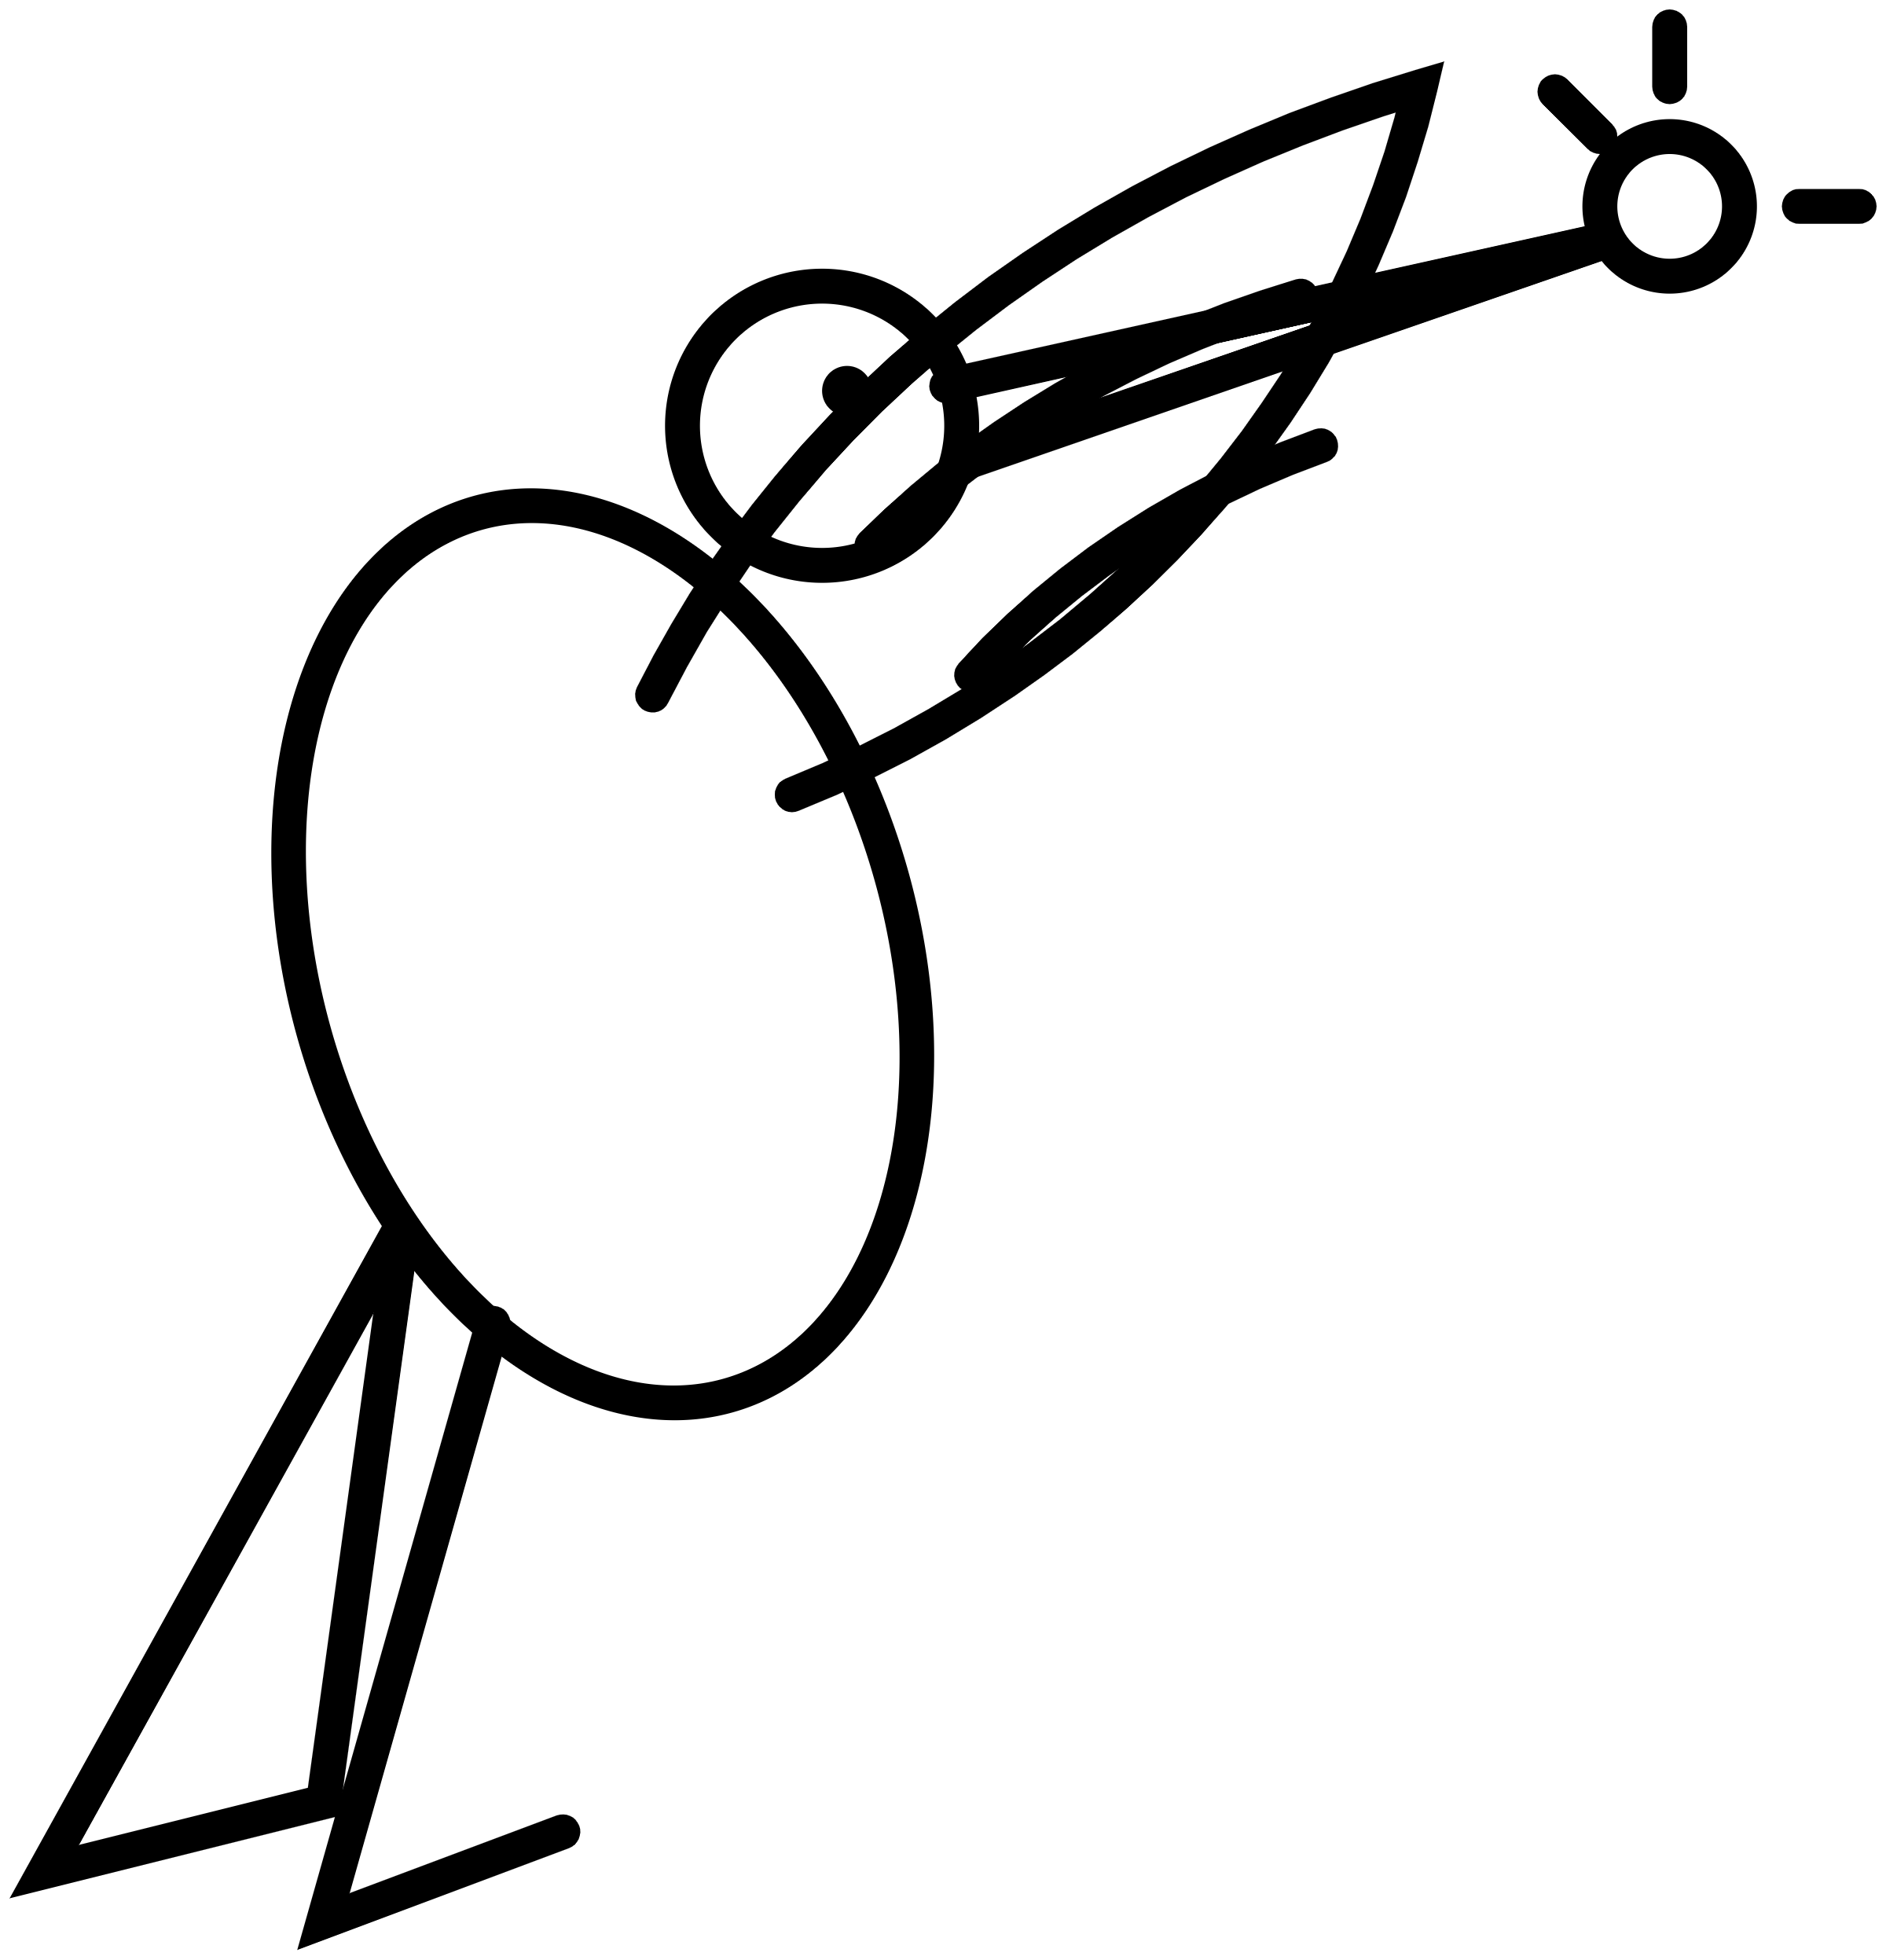
A hummingbird caught level with a flower: thin beak, one raised wing with separate feather lines, and a tail that stays readable on a small placement.
 Download transparent PNG
Set the beak line before the wing
The beak is the first part of this drawing to fail on paper. It is a long thin triangle, and when the whole bird is printed under 45 mm the two lines merge into one. Decide the finished wing-to-tail length first, then look at the beak: it should still be an outline with white space inside, not a solid black stroke.
A hummingbird is usually placed on a forearm, a wrist or behind the ear. Behind the ear the beak can point down the neck and the tail curls toward the cheek, which means the drawing needs mirroring. Set the mirror before you set the width in the tattoo stencil maker.
Where the wing feathers close up
The raised wing is built from an outer edge and three inner feather lines. At 60 mm and up all four lines stay separate, and you can trace each feather group. Below 50 mm the inner lines crowd the top of the wing, and the usual fix is to drop the two shortest lines and keep the outer edge plus one feather line.
Open the transparent PNG in your drawing app if you want to remove or restore an individual feather line. Import the edited PNG into the maker to check the new proof.
The tail changes with the placement
A fanned tail reads as motion on a flat placement, but on a curved area (an ankle, a rib) the fan opens unevenly and the two outer tail lines pull apart. Print the proof on the paper you will actually use for the transfer and bend it around the area, or look at the drawing from the angle the client will see it in the mirror.
If the tail has to shrink, keep the centre line and the notch between the two feathers; drop the outer line instead.
Print the bird at actual size
Hold the sheet at 100% and follow the actual-size print guide so the calibration line reads 50 mm before you commit to the transfer. The PNG exports at 2400 px wide, which keeps a 120 mm hummingbird at roughly 500 dpi.
For a pair of small birds on two wrists, download the file once and mirror the second copy, so the two line weights match. Browse the rest of the printable tattoo stencils if you want a flat leaf or flower to fill the space next to the beak.
Measure from the beak to the outermost mark
Use the whole visible bounding box when you measure this stencil. The beak extends farther than the body, and the raised wing adds height above it. A setting of 55 mm wide gives a proof approximately 57 mm tall. Compare that with a 70 mm wide proof for a longer forearm or ankle placement. Lay each paper proof over the measured area and turn it until the beak points in the intended direction. Leave enough space around the raised wing when you position it beside another design.
Keep three reference marks available during the test. Look at the tip of the beak, the narrowest gap in the wing and the notch at the tail. View the saved PDF at a comfortable zoom, then check those same areas on paper. If the wing space needs opening at a small size, make the change in a drawing app and re-import the PNG. Keep the original download so the larger variant still has every feather line.
With a thermal stencil printer such as a TP83 or OZER model, feed the transfer sheet specified for the model. Print one copy at the width you measured and check the beak before running the second copy. In a mobile app that imports the PNG, set the width in the app and measure from the beak to the farthest visible mark on the proof.
For a compatible inkjet stencil system, use the ink supplier’s stencil ink and paper combination. Print with the same artwork width to make the feather gaps comparable. Inspect the small notch near the tail and the tip of the beak on the actual stock you plan to use. Printer and paper guide.